Some tips and tricks to make your electrical new build run smoothly.
We recently completed a full set of new build electrics locally and thought a blog on the topic would be a great idea for any prospective new builders out there. The house was a 6-bedroom detached house with 4 reception rooms. This was a large contract for us, for which the delivery spread over 3 months for a team of 2 for the main build to give you an idea of the scale of the work needed.
The first thing we were asked to do was to connect the 3-phase supply to the house. It’s worth noting that the supply was in a box as you entered the property on the left at the boundary, so the cables/tails from the 3-phase supply needed to be run to the 3 consumer units planned for the house. I suspect the householder had had a large quote for digging up the garden by the DNO and placing a supply nearer to the house, so decided on the lesser of two evils which was getting his builder to dig the trench and asking us to do the connection to the 3 consumer units in the house. A key thing to note when doing this type of extension of 3-phase to a house is that as well as fuses you do need the appropriate breakers on the cables or tails to the house in case the cable is severed by accident either during the course of building work or afterwards and these are not cheap but essential for safety.
One tip for prospective new homeowners is to think carefully about where you want your consumer unit(s) to be and what type of consumer units you want. If you have one consumer unit it’s probably not so much of an issue as most people tend to have them near the front door or under the stairs. However if it’s a larger house it is better if they are installed around the house so later addition of circuits can be carried out easily. If they are all in the same place then you run the risk of having to take a cable back to one place that may be quite inconvenient and require a lot of chasing in walls after the fact or trunking. So space your consumer units around the house. In this case there was a consumer unit under the stairs, one near the kitchen as kitchen are quite hungry for electrics and a third one upstairs in a roof void.
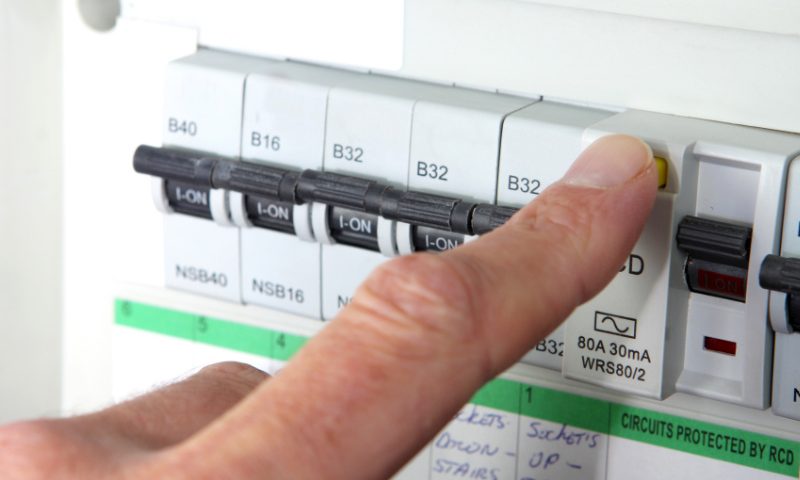
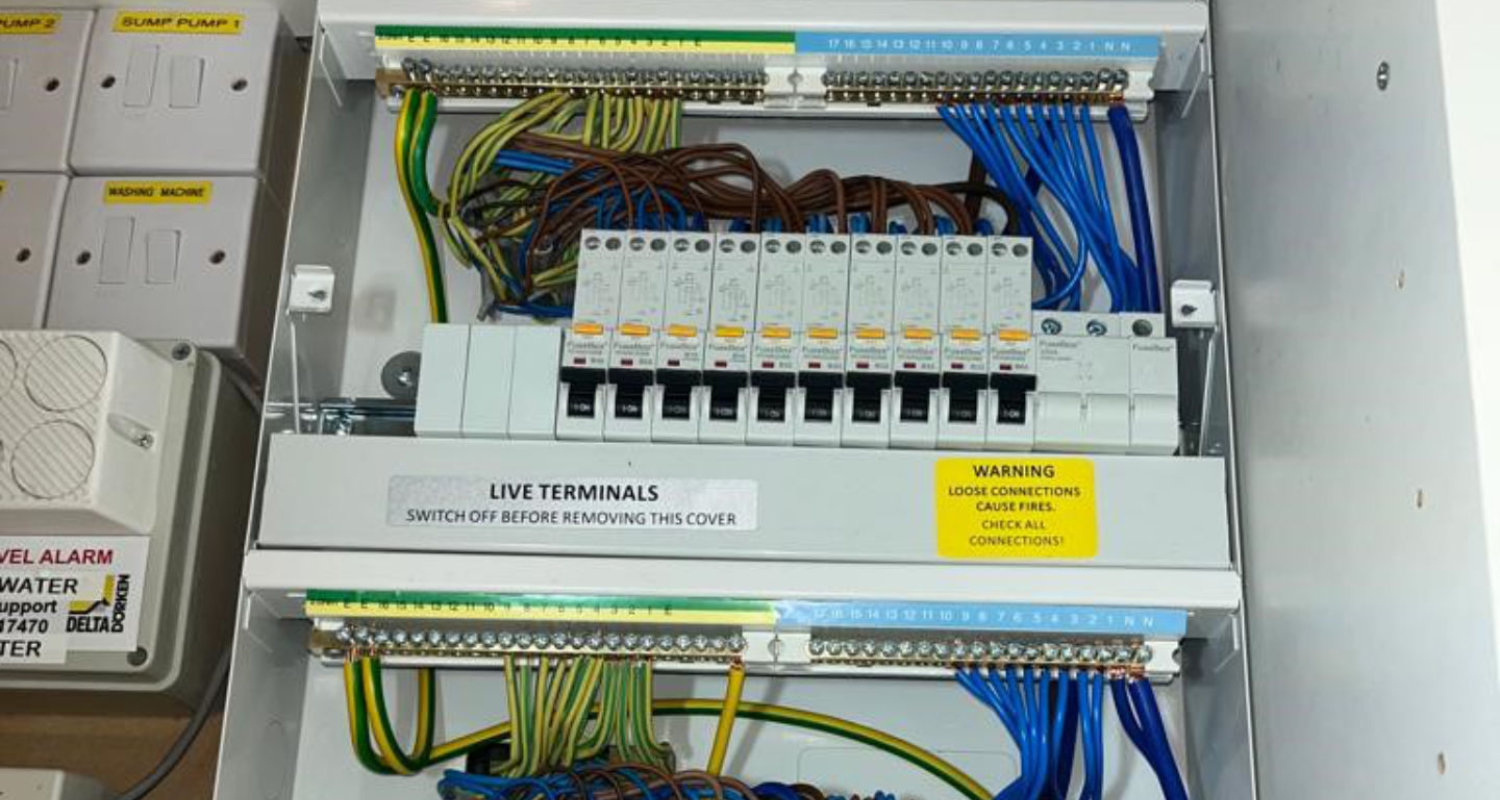
In terms of the type of consumer unit we used 21-way Fusebox RCBO boards. Fusebox is an excellent brand and the consumer units were future proofed with plenty of spare ways for adding circuits. RCBO boards are the latest type of specification and have the advantage of the combined functionality of an RCD and an MCB which means that if there is a fault on one circuit the entire board does not trip. Instead the circuit which has the fault trips only. This is opposed to an RCD and MCB protected board where if there is a fault and the RCD trips it automatically shuts down all the circuits protected by the RCD. We tend not to install these types of board now which are cheaper and less effective albeit do meet the requirements of the latest standard.
In addition it’s really important to plan cable routes for the consumer units prior to floor screeding so that the (quite large) cable for each phase from the 3-phase supply can be taken under the floor to the appropriate places for the consumer units.
Putting the plan into action.
This customer had employed a company to help them with the build and the house was one from their standard range. The house was largely put together with a grid of Rigid Steel Girders (RSJs) and Posi Joists with insulated walls and brick built up the fronts of the insulation. One challenge with such a build is running the cables from consumer units to the various rooms as the RSJs had limited holes drilled in them and we had a lot of cabling for such a large house. Again having the consumer units distributed did help. Also Posi Joists helped too as these are manufactured with diagonal steel slats so that cables can be run very easily through them unlike conventional joists where cable holes need to be drilled. For such a large build Posi Joists are a must not only for electrical cables but also plumbing and whole house ventilation systems. In addition we put a lot of work into planning the cable routes to minimise the amount of drilling needed through RSJs.
One thing that definitely helped the build was having a full set of drawings from the customer from which we were able to plan all the wiring points and materials needed for the work and accurately quote then manage any changes from that baseline. We would thoroughly recommend that you use a Computer Aided Design (CAD) package to do this and also carefully manage all changes by making sure that onsite drawings are changed, and that the electrical coordinator knows about these changes as they happen. A couple of times we came unstuck when changes were agreed verbally that took us away from the original design but largely the electrical work progressed very smoothly. It maybe best to agree with your electrician that you will reissue the CAD drawings as changes are made and that someone has responsibility for making sure all drawings onsite are appropriately swapped once a change is made and the electrical company admin team are updated.
On sourcing of lighting the customer obviously tends to want to source the pendants, wall lights and outside lights to their taste and this project was no different. It is imperative to understand what that means in terms of IP rating required for things like bathrooms, particularly if the light is in one of the protected zones in a bathroom or outside. We advised the client what was needed in each instance and they ordered their lighting. One thing to note is the conventions around ordering of accessories. If we do source and order accessories they fall under our guarantee if they fail in the two years following a job and we will return and swap them out for a new accessory for free, albeit we can’t guarantee that we will be able to find exactly the same accessory. There is a 20% handling charge for this type of arrangement and in return the customer knows that any issues will swiftly be dealt with either during the course of the build or afterwards. Any accessories sourced by the customer don’t fall under the 2 year guarantee so its very much worth thinking about how you move forwards with the sourcing of accessories, especially if your suppliers are on a long lead time and you want the electrical work finished quickly and efficiently.
It’s also worth noting that we throw in all standard white accessories such as pendants, switches, sockets and T&E cable for free but there is an extras charge for things such as downlights, chrome/brass/coloured accessories, strip lighting, smoke/heat/CO alarms, USB sockets and modular switch panels, AV parts such as RJ45 sockets, patch panels, patch leads, routers and thermostatic controls for zoned underfloor heating etc.
Overall the main body of the work took around 3 months alongside the interior build once the roof was on and we were working with other trades such as builders and plumbers – in this case Plumb4U – who were also engaged to carry out the plumbing work. There was a small tail of work for the following 3 months to finalise 2nd fix following decorating and the installation of lighting as it arrived. One tip here is to make sure that you plan to have the electricians back once 1st fix (getting the cabling in place) is completed and the decorating is underway. There needs to be a gap in between 1st and 2nd fix (putting the accessories on) because you don’t want your lighting and accessories to be damaged by plaster and paint, so it’s best to have us come back after the plastering and decorating is complete to do 2nd fix and get all accessories in place. It is also imperative to make sure that any appropriate testing is completed before walls are plaster boarded to ensure that faults found can be fixed without damaging the fabric of the building.
Additional tips.
Other tips include properly sizing your oven/range/hob. These items take a lot of power and sometimes need their own mini consumer unit. It is really important to decide on this quite early in the build so that the proper sized cable can be put in place in the kitchen and to minimise disruption and additional costs later.
In addition it is expedient to make sure that you have adequate AV cables running to each room which will have a TV. There were around 6 rooms with TVs in this property and the AV was more complex than the average home, requiring multiple CAT 6 and coax cables and of course power for behind the TVs as well as splitters for the Virgin Media.
Also – if you are going to have any exterior power supplies for things such as a pool or garden room then it important to decide which consumer unit you are running the cable from and where that cable will be routed prior to the walls and floors going in or any kitchen units. Planning for this, the customers asked us to run a 16mm armoured cable to the outside from their pantry so that they had a cable in place for such eventualities.
Overall the work went with relatively few hitches.
If you have a similar project please don’t hesitate to contact us on electrics@electric4u.org or call us on 02080044581.
